Reservoir Monitoring
Parts
- ESP8266 (we only need 2 data pins)
- Ultrasonic Distance Sensor
- Power Adapter
Wiring
Wiring on this is very simple. The sensor has 4 pins (Power, Ground, Trigger, Echo)
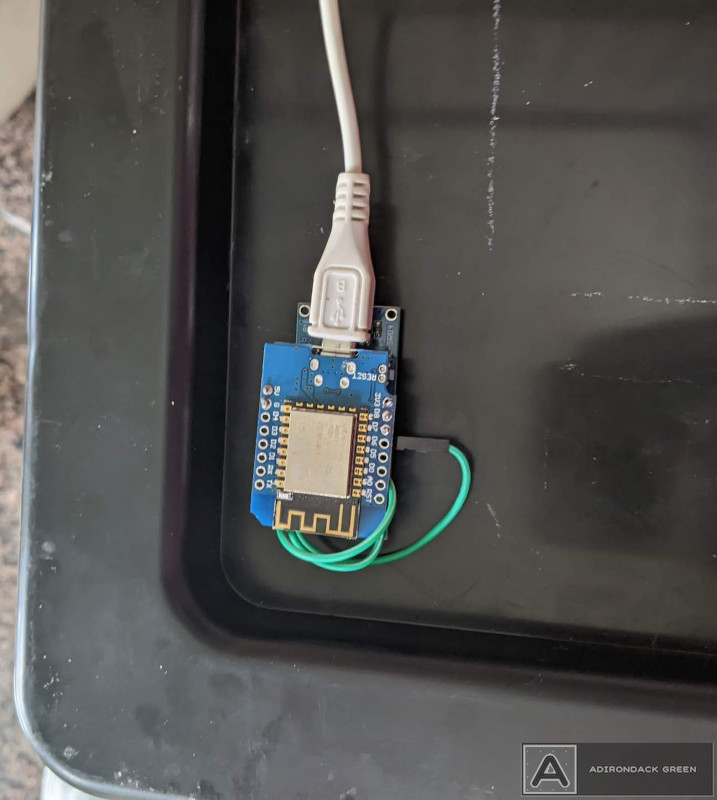
It's fortunate these pins can be found in a row on the ESP8266, so I just soldered the 4 pins in, and folded it over. (*Actually the ground was on wrong side so you see a small green wire running that to right pin)

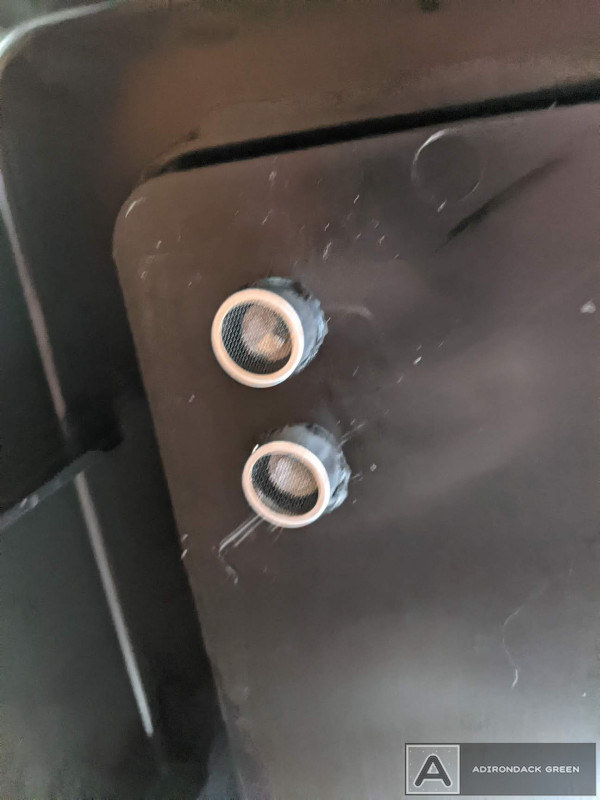
Drill two holes for the sensor (I also sealed mine with silicone since I am in basement.)

Code
This is pretty easy too, though like our dosing system needs some calibration. We start with a simple distance sensor that we will use for that.
esphome:
name: resovoir
esp8266:
board: d1_mini
..
sensor:
- platform: ultrasonic
trigger_pin: D8
echo_pin: D7
name: "Reservoir Depth"
unit_of_measurement: "Gallons"
update_interval: 15s
Calibration
Go ahead and fire up the code above, but don't add to Home Assistant yet. Instead, watch the logs with the lid on an EMPTY reservoir.
[09:32:17][D][ultrasonic.sensor:040]: 'Reservoir Depth' - Got distance: 0.59 m
[09:32:32][D][ultrasonic.sensor:040]: 'Reservoir Depth' - Got distance: 0.59 m
[09:32:47][D][ultrasonic.sensor:040]: 'Reservoir Depth' - Got distance: 0.59 m
[09:33:02][D][ultrasonic.sensor:040]: 'Reservoir Depth' - Got distance: 0.59 m
OK, so in my case .59 meters is empty.
Now add 1 gallon, 2 gallons, or any known amount above zero and below full, check log output again..
[09:45:17][D][ultrasonic.sensor:040]: 'Reservoir Depth' - Got distance: 0.52 m
[09:45:32][D][ultrasonic.sensor:040]: 'Reservoir Depth' - Got distance: 0.51 m
[09:45:47][D][ultrasonic.sensor:040]: 'Reservoir Depth' - Got distance: 0.52 m
[09:46:02][D][ultrasonic.sensor:040]: 'Reservoir Depth' - Got distance: 0.52 m
Ok, so .52 meters is 1 gallon in my tank, and a little anomaly that hopefully doesnt get worse 😃
Repeat 1 more time with a FULL reservoir.
Add the mappings as a filter in ESP home.
Update your sensor to add a filter, Since my tank is not consistent shape (wider at top) I need the calibrate_polynomial but graduated containers should use the simpler calibrate.
sensor:
- platform: ultrasonic
trigger_pin: D8
echo_pin: D7
name: "Reservoir Depth"
unit_of_measurement: "Gallons"
update_interval: 15s
filters:
- calibrate_polynomial:
# Map 0.0 (from sensor) to 0.0 (true value)
degree: 3
datapoints:
- 0.585 -> 0
- 0.520 -> 1
- 0.465 -> 2
- 0.270 -> 6
Update - Added Quantile Filter
Even though the tank has been empty waiting for my seedlings to hit week3, I have noticed huge spikes in my readings. Not as frequent or erroneous as the Pi Zero readings, but not trustworthy.
But instead of a crude MEAN, which would also be skewed by any anomaly readings, I opted for a QUANTILE filter. So now we grab 5 readings, and pick the value in the 90% quantile, meaning VERY COMMON and MOST LIKELY.
You can see the impact on readings was immediate and good.

sensor:
- platform: ultrasonic
trigger_pin: D8
echo_pin: D7
name: "Resovoir Depth"
unit_of_measurement: "Gallons"
update_interval: 15s
timeout: 1m
filters:
- quantile: # rolling window to reduce any anomolies coming through (water changes very slowly!)
quantile: .9
- calibrate_polynomial:
# Map 0.0 (from sensor) to 0.0 (true value)
degree: 3
datapoints:
- 0.59 -> 0
- 0.52 -> 1
- 0.27 -> 6 #not consistently .07 per gallon . If you have consistent size use calibrate-linear and only 2 measures.
Up and Running
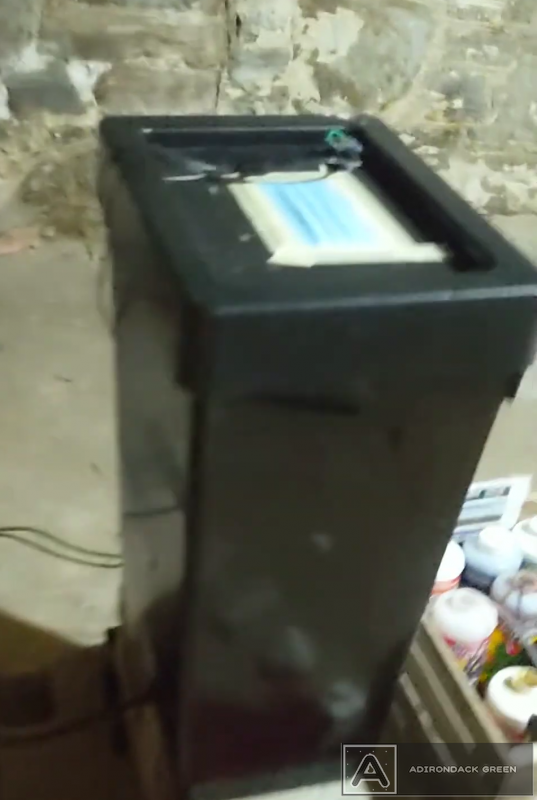
And there we are, a nice little reservoir who never goes dry!
